
How to build custom forms for lead capture
 Baltej Singh8 min read
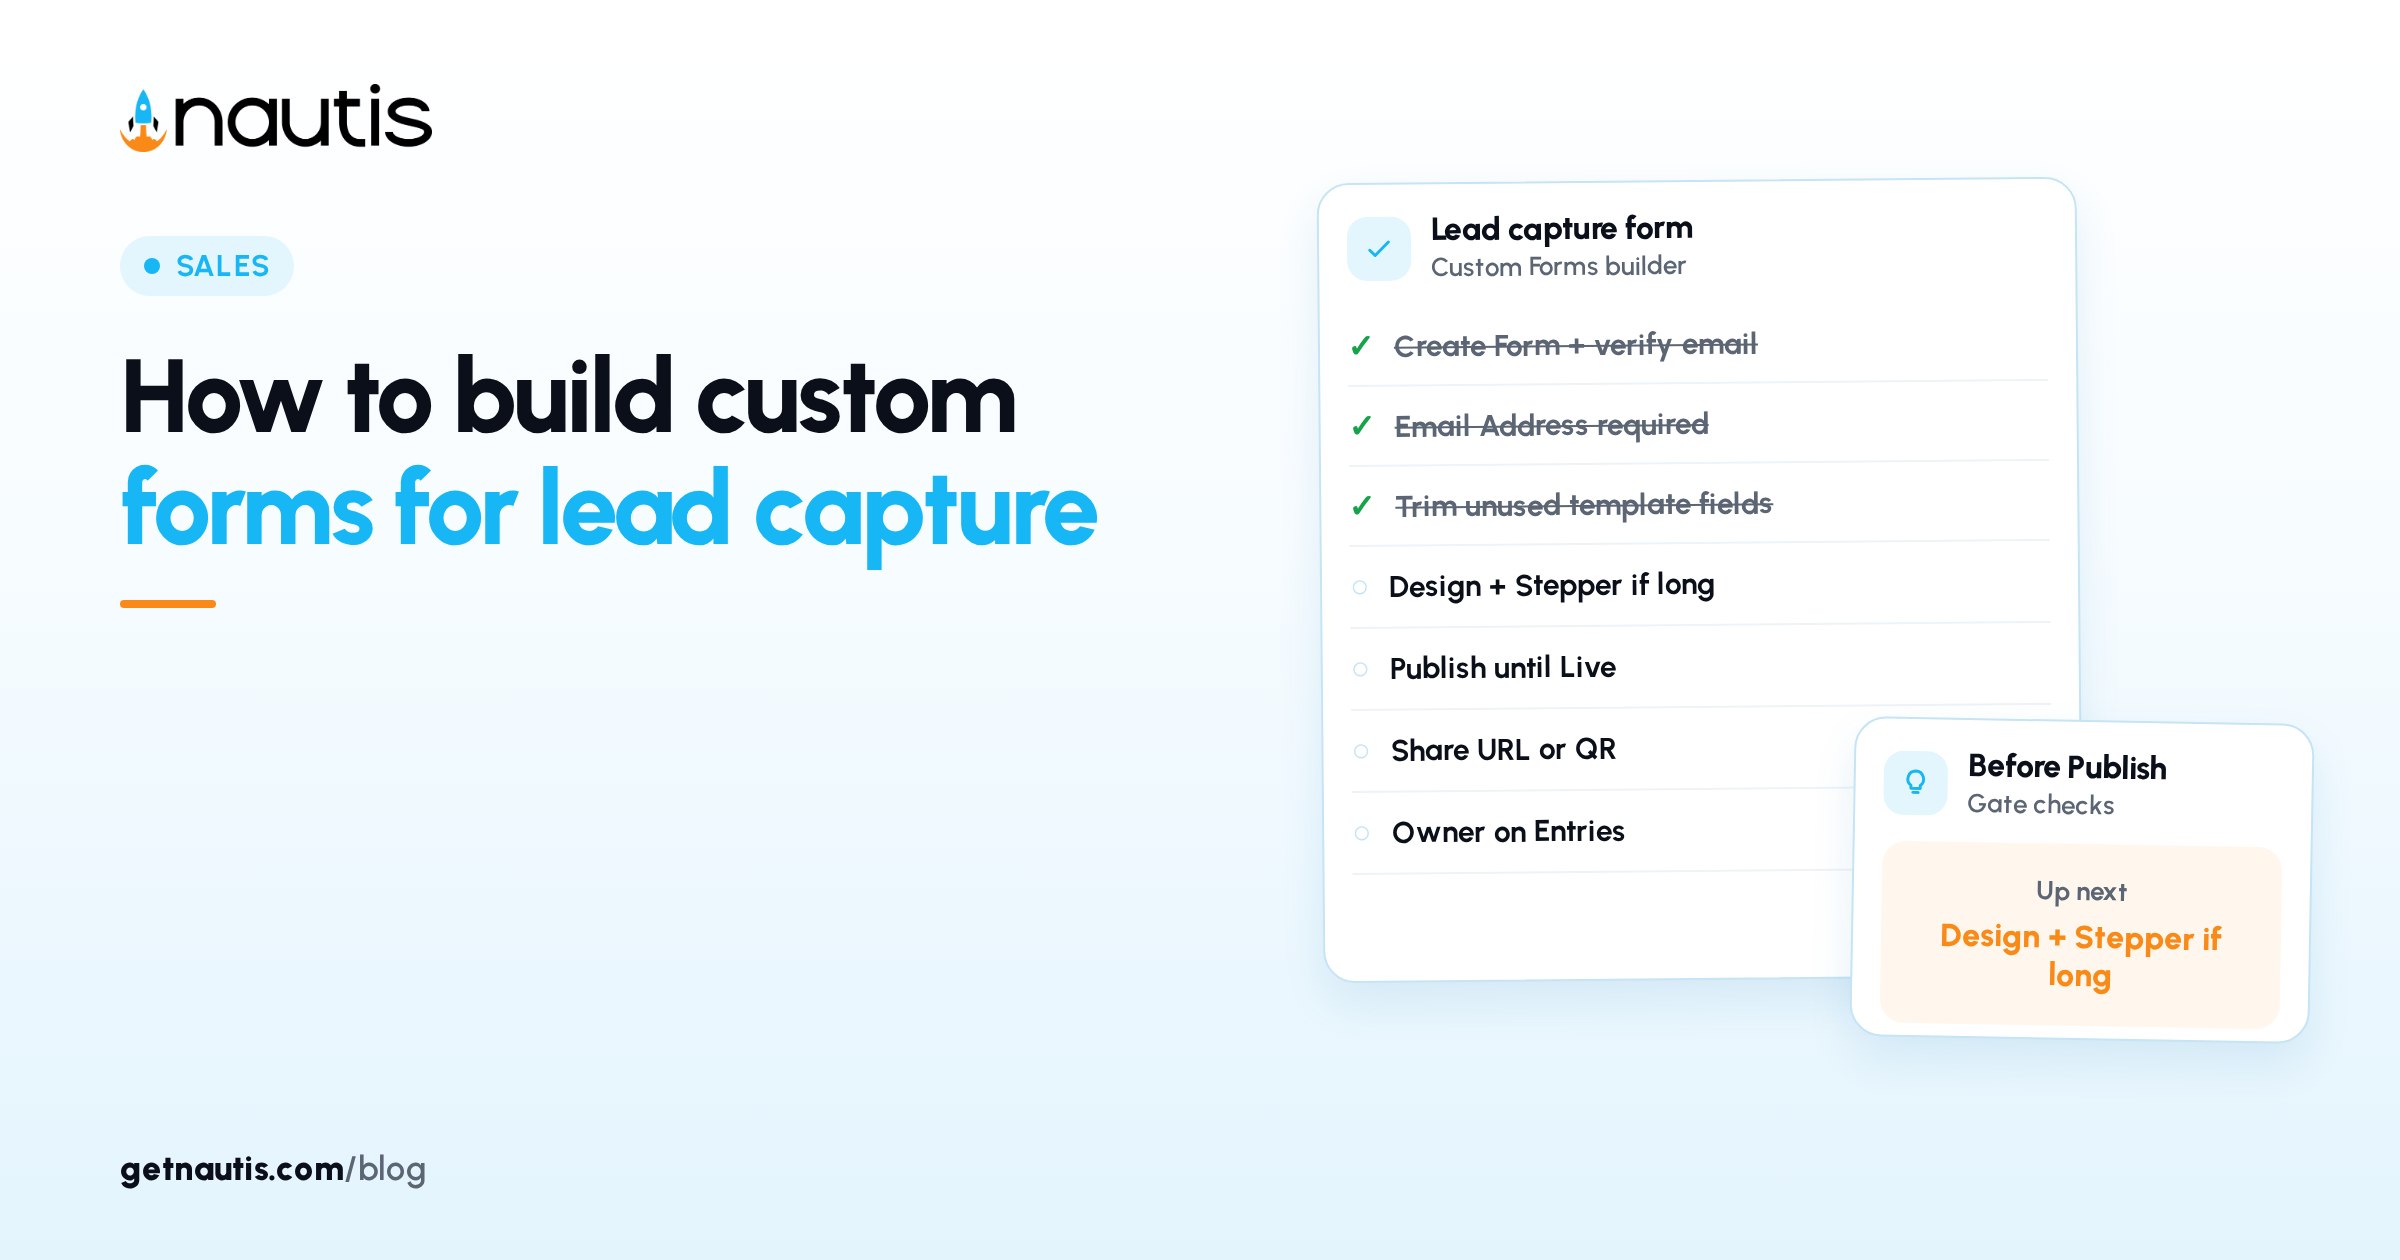
Custom forms for lead capture let you publish a public page, collect structured answers, and review every submission without building a site. In Nautis that work lives under Marketing → Custom Forms: Create Form, add sections and fields, Design the look, flip Publish, then Share by Form URL, Embed Code, Short URL, or QR Code.
Lead capture fails when the form asks for everything at once or when nobody opens Entries after publish. Keep the first form short, required fields honest, and a fixed review of new entries.
Why custom forms for lead capture beat a generic contact mailto
A mailto link returns unstructured prose. A form returns named fields you can filter, export, and hand to sales. Templates such as a contact form or application give you a starting section set; Blank form starts empty when the template does not fit.
Illustrative miss (composite only): homepage "Contact us" opens the visitor's mail app; three founders get different versions of the same ask and nobody logs a next step.
Illustrative win (composite only): one Published form with Email Address, company name, and a short Textarea; Entries reviewed daily; CSV export into the CRM process the same afternoon.
Anyone with read permission for Custom Forms can open the module. Creating, editing, and deleting forms needs the matching permission; without it, Create Form stays greyed out. Verify your email before the first create.
Create the form, then add only fields that earn a reply
Open Custom Forms from Marketing. Click Create Form. Choose Use a template or Blank form. In the form-details dialog set Form Name (up to 100 characters), an optional Description shown at the top of the public page, and an optional Header Image banner. Click Create Form or Create from Template to open the builder.
The builder has Builder and Live Preview. Add a section with a name and optional description. Inside the section pick field types that match lead capture, not a census:
Field type | Use on a lead form when | Keep Required? |
|---|---|---|
Email Address | You must be able to reply | Yes for outbound follow-up |
Basic Text Field | Name, company, role | Name yes; role often no |
Phone Number | Calls are part of the motion | Only if you will call within a day |
Textarea | Problem or context in their words | Optional; cap length with placeholder guidance |
Select Dropdown / Radio Buttons | Plan, company size, or use case buckets | Yes when routing depends on the answer |
URL Field | Site or LinkedIn for qualification | Optional |
File Upload / Image Upload | Decks or logos for applications | Only when storage and review time exist |
Rating (stars, NPS, emoji) | Feedback or waitlist intensity | Optional |
Drag fields to reorder or move them between sections. Toggle Required on fields that must block submit. Live Preview updates as you type; View Form opens the full public version in a new tab.
Prefer Radio Buttons or Select Dropdown when the visitor must pick one path. Use Checkboxes or Multi-select Dropdown only when multiple intents are truly valid. Toggle Switch fits a single yes/no such as "Happy to be contacted." Date & Time and Number Input belong on applications and budgets, not on every homepage lead form.
Illustrative build (composite only): section "About you" with name, Email Address, company; section "Need" with Select Dropdown for use case and a short Textarea; no File Upload on the first waitlist form.
Phone Number formatting helps when founders dial from Entries, but a Required phone field on a top-of-funnel embed often cuts submissions. Make phone optional until outbound calling is staffed.
If Live Preview looks fine and the public View Form looks cramped, revisit Design spacing before you buy ad traffic. Layout bugs feel like product bugs to the visitor.
Skip Color Picker, Signature, and Video Upload on a first lead form unless the offer truly needs them. Extra fields raise abandon rates and storage use.
Placeholder text should teach the answer shape. "What problem are you solving this quarter?" beats "Comments". Sales reads the Textarea later; make it scannable.
When a template includes fields you will never use, delete them before Publish. Template speed is worthless if Required questions block honest visitors.
Design for completion, then publish with a Live URL
Switch to the Design sub-tab for fonts, colors, button styles, and spacing. Turn on Stepper Mode when the form is long so each section appears as a step with a progress bar. Save and confirm Live Preview still looks readable on a narrow window.
Flip the Publish toggle in the form-builder header. The control becomes Published with a green check, and the header shows a green Live indicator with the public form URL. You cannot publish an empty form; add at least one active field first.
Illustrative publish (composite only): Stepper Mode on a three-section application; Publish after Required checks; Live URL pasted into the site footer the same day.
You can keep editing after publish; saves go live immediately. Prior submitters are not re-prompted, and their Entries stay as submitted. Toggle Published back to Publish to unpublish.
Unpublish before a major field redesign if you need a clean break for new campaigns. Historical Entries remain; the public page simply stops accepting new submits until you Publish again.
Share channels that match where buyers already are
Click Share in the header. Pick the channel that matches the surface, not every channel at once.
Share option | Best surface | Operator note |
|---|---|---|
Form URL | Email, chat, docs, ads | Copy the full public link; no Nautis account needed to submit |
Embed Code | Marketing site or docs page | Paste the HTML so the form sits inline |
Short URL | Social posts, SMS, tight UI | Use Generate Short URL for a clean branded link |
QR Code | Events, slides, print | Download QR Code as PNG for flyers and booths |
Anyone with the link can submit. Plan caps how many forms you create each month; hitting the cap opens a Custom Form Limit Reached modal with count and limit until you upgrade. Form names stay under 100 characters; descriptions under 2000. File uploads count against organization storage quota.
Illustrative share (composite only): Embed Code on the pricing page; Short URL in a LinkedIn post; QR Code on a meetup slide; one Form Name across all three so Entries stay in one list.
For event booths, test the QR Code on a phone before print. A Short URL backup on the slide footer covers Wi-Fi failures at the venue.
Related short-link habits sit in the URL Shortener guide when you manage links outside a single form.
Review Entries on a fixed cadence
From the Forms list open the entries icon, or use the entries link in the form header. The Entries page shows a Statistics panel plus the Entries Table. Search for a submitter, or use Advanced Filter by field value, date range, or submitter. Open a row for the full response in a side panel.
Export from the statistics panel as CSV or JSON. Tick rows first when you need a subset, then bulk-export. Export before you delete fields: existing responses keep old data, but removed fields drop off the form and the export.
Illustrative review (composite only): morning filter for last 24 hours; three hot Email Address rows pushed into Leads & Sales CRM by the owner; weekly CSV archive.
Custom Forms stores submissions; it does not replace your CRM process. Name who moves Entries into Contacts or Leads the same day so the public form does not become a graveyard.
Write the follow-up SLA next to the form owner name: who replies within one business day, who owns weekend event QR submissions, and where CSV exports land. Without that note, Entries pile up while the Live URL keeps collecting quiet volume.
Monthly, open Statistics and compare submit volume to sales-accepted leads. If volume is high and acceptance is low, shorten the form or tighten Select Dropdown options before buying more traffic.
Keep one lead form sharp, then add niche forms later
Start with one Published lead form tied to the primary CTA. Add a second form for hiring applications or NPS only when the first has a steady Entries review habit. Each form has its own public URL, theme, and entries under the monthly cap.
Header Image sets tone before the first question; Brand Kit work elsewhere can inform colors, but Design still lives on the form. For surveys, Rating supports stars, NPS 0-10, and emoji scales.
Custom forms for lead capture work when Create Form is permissioned, Required fields match real follow-up, Publish is on, Share matches the channel, and Entries have an owner. Recheck field list monthly; cut anything sales never reads. If Create Form is greyed out, fix permissions or email verification before blaming the builder.
Recheck field list monthly; cut anything sales never reads. Address fields and Rich Text Editor belong on long applications, not on a pricing-page embed. Currency fits budget ranges when finance must qualify before a demo. Range Slider can stand in for rough budget bands when exact numbers scare visitors off.
Keep Form Name stable once ads and embeds reference it. Renaming in the builder does not rewrite every pasted Embed Code on the marketing site; update those surfaces in the same change window as Publish.
Plan limits and storage show in-product when you hit them; see pricing for plan context.
Frequently asked questions
Do visitors need a Nautis account to submit custom forms for lead capture?
No. Published forms are public. Anyone with the Form URL, embed, short link, or QR code can submit, and every response appears on the Entries page.
Why will my form not publish?
Forms need at least one active field. Add a field in the Builder, then flip the Publish toggle again. Empty forms stay unpublished.
Can I change fields after the form is Live?
Yes. Edits save to the live form immediately. Prior Entries keep their original answers. Export before deleting fields so historical columns are not lost from new exports.
How do Short URL and QR Code relate to lead capture?
Both live under Share in the form builder. Generate Short URL for tight posts and Download QR Code as a PNG for events or print while keeping one Form Name and Entries list.
Sources
- Nautis Help Center, Custom Forms. Checked on November 1, 2026.
- Nautis Help Center, Leads & Sales CRM. Checked on November 1, 2026.
- Nautis Help Center, Contacts. Checked on November 1, 2026.
Baltej Singh is a serial entrepreneur, technology leader, and Founder & CEO of Nautis and DemoVexa, with over 16 years of experience building software products, SaaS platforms, and startups. Previously the Co-Founder & CTO of SanchiConnect, he has worked extensively in the DeepTech startup ecosystem, connecting with 200+ venture capital firms and supporting a network of 4,000+ startups. Passionate about AI, automation, and entrepreneurship, he focuses on building innovative products that solve real-world problems and help businesses grow.